Here's something I've wanted to build for a long time. The perfect plywood rack in a humidity controlled environment. We run a dehumidifier 24/7 here in the basement. Now for the plywood to use in those long anticipated building projects.
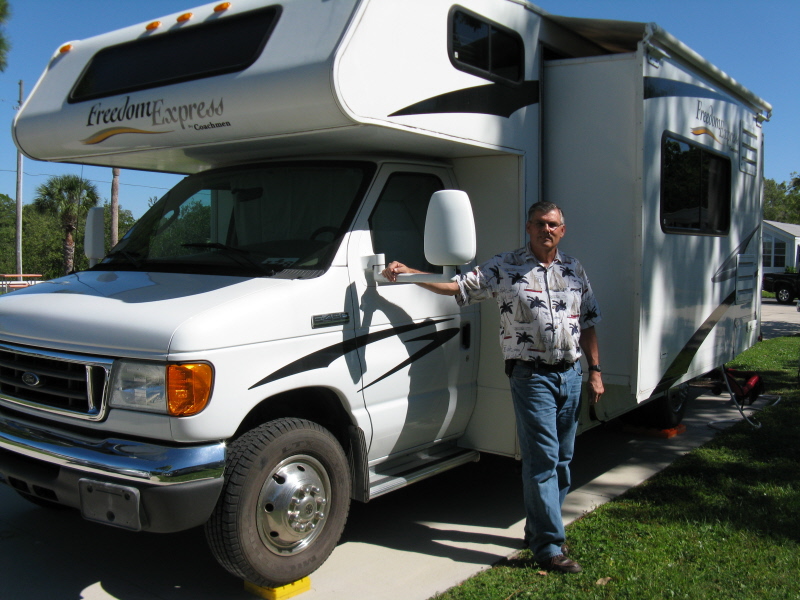
I took advantage of a warm day to painstakingly mold a 24 foot piece of e-glass tape onto the keel chine of Tridarka's second ama. (You will recall that Tridarka is our 21 foot trimaran sailing boat. The Amas are the outer hulls that keep it upright). As I previously explained the radius had to be re-sanded often removing most of the old glass which had not been properly saturated (epoxy starved). This is a nerve-wracking process of working against the clock while applying and squeegeeing excess epoxy. When I say hand squeegee I mean it. I used my gloved hand to mold and massage the glass around the tight corners. At least three applications of epoxy were added to make sure of the wet-out while urgently rolling out any runs and drips. Did I mention nerve-wracking?
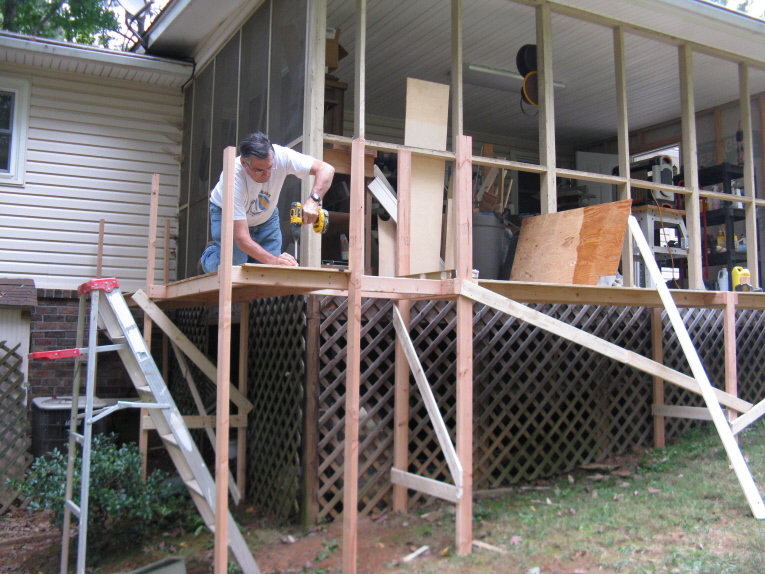
Perhaps it's time to unveil our winter project. "Ha," you say, "don't you have more projects than you can do in a year already." Well, right you are. However the outside work on the bigger boats is at an end. So we bring out the plans for the Kiwi Puddle Duck racer. Karen is quite taken with the idea. It's a small 4'x8' sailboat that builds rather easily and is lateen rigged. I just happen to have the rigging from an old Sunfish which is just about perfect for the project.
Karen has already work her magic with a really nice and creative binder for all the research on our project.
I promise not to slum up the pages of this blog too badly with blow by blow stuff. If I do any detail stuff it will carry the appropriate warning so the reader may skip that edition of the blog.
Wednesday, November 21, 2012
Sunday, November 18, 2012
No Guts, No Glory
Go ahead, drill a nice big hole in the side of your boat. Is it in the right place? If not, what would you do then? Are both sides of the boat the same? How do you tell on a rounded trapezoid?
Well there it is. It did turn out just fine after a couple of hours of timid check and recheck.
Next, what size are should the pilot holes be? How long should the screws be? It is balsa cored sandwich. Therefore the screw should end before the other side of the sandwich. Answer to what pilot hole size--Google like always. One-eighth inch for a #8 sheet metal screw.
Here's the base mount for the cable clam, a really nifty way to seal out the water. I had to bore a hole in the gasket block and slit the side afterwords. Then mounting the wedge gasket looks like this.
Finally the two nylon sections are screwed together compressing the wedge gasket.
You got to love good engineering! This is what the final product looks like.
Saturday, November 17, 2012
Solar Power to Burn
Now that's what I'm talking about! Here is the latest addition to Belle's long term sail capabilities. I had suffered with a large, ungainly and un-achored solar panel which frankly posed a safety hazard and simply wasn't charging well anymore. So I decided to splurge and buy a set of stanchion mounted 85 watt panels.
This is quite an undertaking from an engineering standpoint and the electrical wiring standpoint. I will document my findings as I go
Next comes the new Blue Sea modern three stage charging system. It will handle up to 25 amps so I plan on mounting the old solar charger (120 watts) on the bimini. This will give me about 17 amps total charge under ideal conditions. The batteries are well taken care of with the intelligent charge system. More to follow.
This is quite an undertaking from an engineering standpoint and the electrical wiring standpoint. I will document my findings as I go
The #10 cable is daunting to work with but the waterproof box and weather tight fittings handle nicely once they are managed correctly. These kits come from eMarineSystems.com. I don't want to say that the directions leave a bit to be desired but, I dare say they probably think that if you can't figure it out, you probably shouldn't be tackling the job. Well, I'm just stubborn enough to think I can. So far, so good.
Here's the basis of the stanchion mount. With the Stainless cross bar these babies are here to stay. The are also fully adjustable for correct sun angle side-to-side. Next comes the new Blue Sea modern three stage charging system. It will handle up to 25 amps so I plan on mounting the old solar charger (120 watts) on the bimini. This will give me about 17 amps total charge under ideal conditions. The batteries are well taken care of with the intelligent charge system. More to follow.
Sunday, October 21, 2012
We took the weekend off to pick up our new RV. We are staying in Dunedin Carefree Resort.
Our friend Dan from whom we bought the RV and car helped us set up for the first time.
We also bought his Chevy Cobalt as a tow vehicle. Both are in excellent shape with low millage.
It's nice to have an economical care to run around in when we arrive at our destination. With apologies, we will be back on message with construction and boat projects next week.
Monday, October 8, 2012
It is a gray day on the lake. The wind cuts through our thin clothes sending chills through our bones. Never-the-less we are in good spirits. This is to be our final sea trials--we hope.
The good news: in the just barely down position, which usually nets the larges leak we have a bare seep , not even a trickle working its way through the rubber gasket material, We feel that this is good enough, as good as we can hope for. We'll crank down a little harder on the lag bolts and hopefully even that will cease. Actually, I never run with the board in the partially deployed position so I should really never have a leak.
After we put the boat away it's back to scaffolding building. We will have this shop dried in by this next weekend! All the studs have to be replaced and windows have to be framed in. This is really turning into a big job.
So there it is, the siding job so far.
We heading for Florida October 20 to pick up the RV. Things are looking up!
Sunday, September 30, 2012
A little to much like work!
It's getting toward winter. I hate that my building spree will be slowed and finally stopped by the cold weather. With this in mind, it's time to close in the shop.
After re-framing the entrance to the shop, I wrap the end of the shop with Tyvek.
Finally, this end of the shop is closed in with a door in place and trim applied and caulked. The rain and the lateness of the day sent us inside. I'm really tired after all this activity in one day.
After re-framing the entrance to the shop, I wrap the end of the shop with Tyvek.
Getting the siding to fit the crooked lines of the house and shop is a real challenge
Tuesday, September 25, 2012
After 6 "man hours" of sanding of which Karen did at least 4, I have applied a coat of epoxy to the entire surface. The key to a good coat with no runs is a good roller from West Systems, a moderate amount of epoxy spread evenly (think wall painting). You have to go over the coat with roller about 3 times to even it out and make sure there are no runs. epoxy applied with brush always runs and must be mopped up with roller!
By rights, a second coat should be applied while the epoxy is "green." This gives a chemical bond instead of a physical bond that you see with a second coat on a finished coat well sanded. I'm afraid I don't have time for that as I have to meet Karen at 5p for dinner. Tonight is ARES meeting and we have to be there early to practice "digital modes" for our upcoming annual "SET" drill (an nationwide Amateur communications disaster simulation drill).
Subscribe to:
Comments (Atom)
